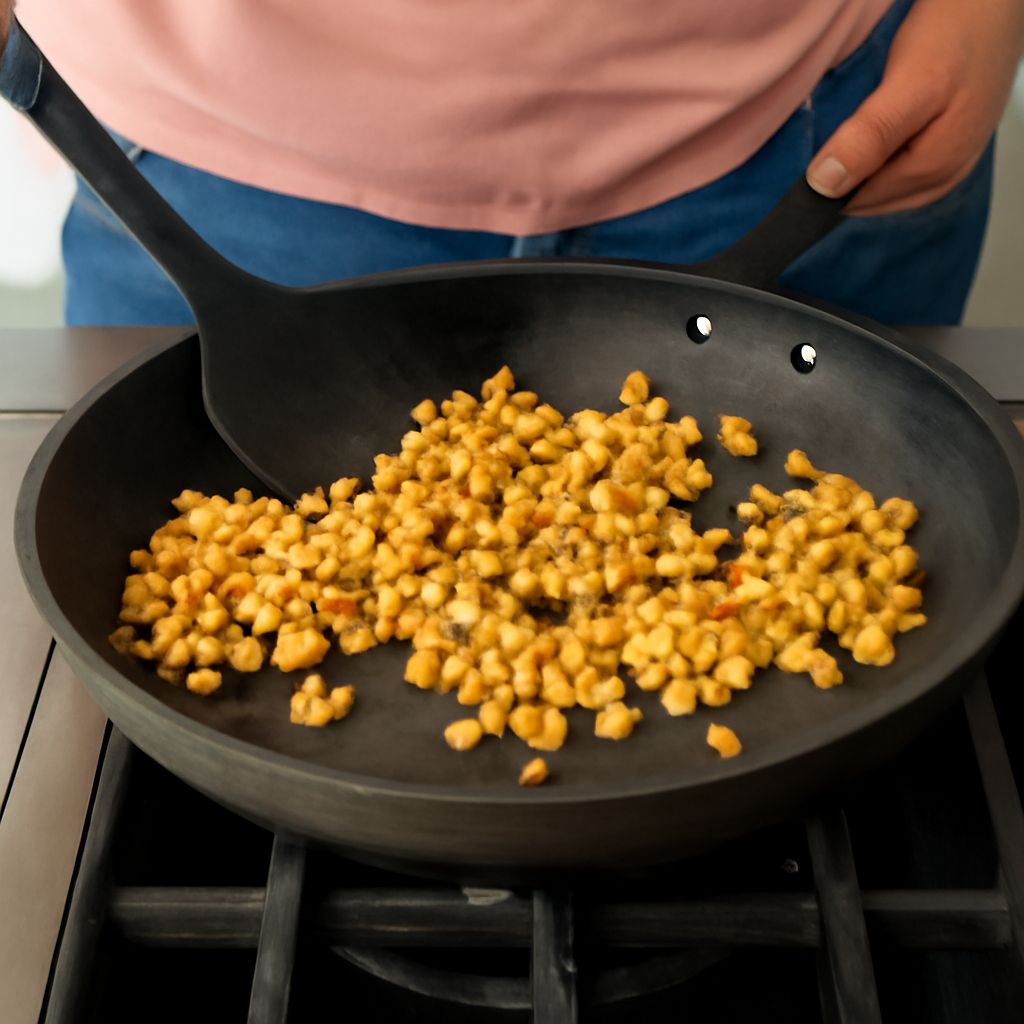
To toast nuts in the oven, spread them in a single layer on a dry baking sheet and bake at 325°F for 6 to 12 minutes, depending on the nut size. Stir once or twice so they brown evenly. They’re done when they smell fragrant, look a shade darker, and taste crisp after cooling.
This method works for most nuts, including almonds, walnuts, pecans, pistachios, hazelnuts, cashews, and pine nuts. If you want the simplest answer to how to toast nuts, use the oven for the most even result and the easiest batch size.
Toast Nuts: Ingredients and Preparation
You only need nuts and a baking sheet. Use raw nuts for the best control over browning.
- 2 cups nuts, any single type or a mix
- 1 rimmed baking sheet
Choose nuts that are fresh and smell clean, not stale or oily. If you want, you can add a light coating of oil and salt after toasting, but it is not necessary for basic toasting nuts in oven.
Preheat your oven to 325°F. Line the baking sheet with parchment if you want easier cleanup, but you do not need it. Spread the nuts out in a single layer so hot air can reach every piece.
How to Toast Nuts in the Oven
Oven temperature and timing
For how to toast nuts in the oven, bake at 325°F for a moderate, reliable roast. Lower temperatures reduce burning, which matters because nuts can go from pale to overdone quickly.
- Preheat the oven to 325°F.
- Spread 2 cups nuts on a rimmed baking sheet in one layer.
- Bake for 6 to 12 minutes, depending on the nut.
- Stir or shake the pan halfway through.
- Remove the nuts as soon as they look lightly browned and smell toasted.
Use these timing guidelines:
- Pine nuts, chopped nuts: 4 to 7 minutes
- Slivered almonds, pecans, walnuts: 6 to 9 minutes
- Whole almonds, cashews, hazelnuts: 8 to 12 minutes
If you want to know how to roast nuts in the oven for deeper color, let them go just until they reach a richer golden brown. Do not wait for dark brown in the oven; carryover heat can finish the job after you remove them.
How to tell when they’re done
The best doneness cues are smell and color. Nuts are ready when they become noticeably fragrant and turn lightly golden in spots. A few darker edges are fine, but blackened spots mean they have gone too far.
Use these failure cues to avoid overtoasting:
- The nuts smell bitter or smoky.
- The color jumps from pale to dark too fast.
- The nuts taste harsh after cooling.
Take the baking sheet out of the oven promptly. Hot nuts continue to cook on the pan, so transfer them to a cool plate or leave them in a single layer on the sheet only for a minute or two.
Serve, Store, or Vary Toasted Nuts
Ways to use toasted nuts
Toasted nuts taste richer and crunchier than raw nuts, so they work well in both sweet and savory dishes. Try them on oatmeal, yogurt, salads, roasted vegetables, grain bowls, pasta, and baked goods. You can also chop them and fold them into cookies, quick breads, pesto, or granola.
If you want to season them, do it after toasting while the nuts are still warm. A small amount of salt, cinnamon sugar, rosemary, smoked paprika, or cayenne clings better at that stage. For sweet applications, a light drizzle of honey or maple syrup works best after toasting, not before.
Storage and reheating tips
Let the nuts cool completely before storing them. Warm nuts trapped in a container can lose crispness faster.
- Room temperature: store in an airtight container for up to 2 weeks.
- Refrigerator: store for 1 month if your kitchen is warm or humid.
- Freezer: store for up to 3 months for the longest freshness.
If the nuts soften, refresh them in a 300°F oven for 2 to 4 minutes. Watch closely so you do not overbrown them. This is the easiest fix when you need toasting nuts in oven ahead of time for a recipe or snack.
For mixed nuts, start checking early because smaller pieces finish first. For delicate nuts like pine nuts, stay near the oven and remove them as soon as they turn pale gold. For larger nuts, give them a stir halfway through so the outer edges do not overcook before the centers toast.