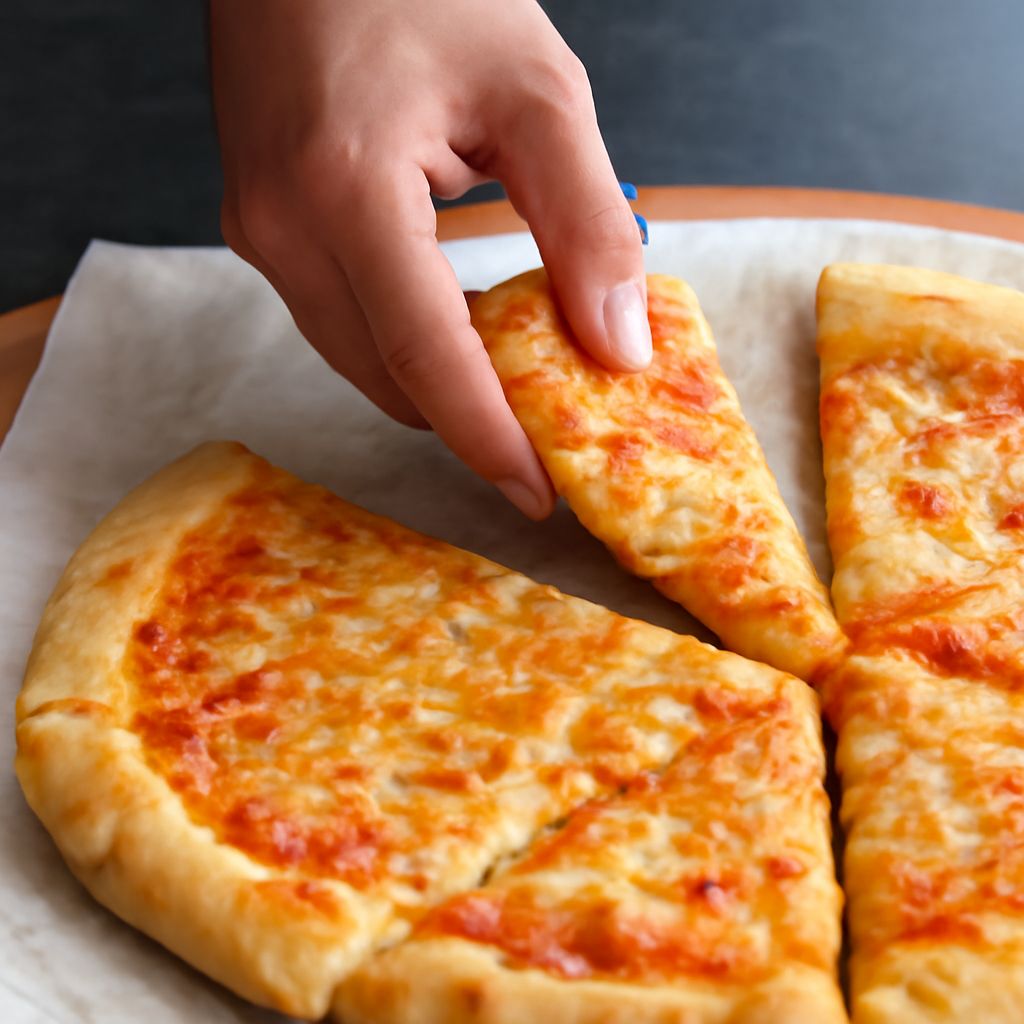
This New York-style pizza dough makes two thin, foldable 12-inch pizzas with a crisp bottom and chewy edge. Strong bread flour, moderate hydration, a little oil, restrained sugar, and a cold fermentation give the dough enough structure to stretch thin without turning brittle.
The same lean, flexible method is often called Brooklyn-style pizza dough. Plan for 24 to 72 hours of refrigeration, then warm the dough balls before you shape them. That timing develops flavor and makes the dough easier to open without tearing.
New York-style pizza dough ingredients for two 12-inch pizzas
- 400 g strong bread flour, ideally 12.5% to 14% protein
- 260 g cool water
- 8 g fine sea salt
- 8 g olive oil
- 6 g granulated sugar
- 1.5 g instant yeast, about 1/2 teaspoon
This formula yields about 682 g of dough, or two dough balls weighing approximately 341 g each. For topping, prepare about 60 to 75 g of pizza sauce and 100 to 120 g of low-moisture mozzarella per pizza. Weigh the ingredients for consistent hydration and dough-ball size.
A New York-style pizza crust recipe: mix and cold-ferment
- Stir the water, sugar, and instant yeast together in a large bowl. Add the flour and mix until no dry flour remains. Cover and let the rough dough rest for 10 minutes.
- Add the salt and olive oil. Knead by hand for 6 to 8 minutes, or mix with a dough hook on low speed until the dough looks smooth and feels elastic. It should be slightly tacky, not wet or soupy. Avoid adding extra flour unless the dough is impossible to handle.
- Cover the dough and leave it at room temperature for 45 to 60 minutes. This short rest starts fermentation without letting the yeast use up its strength before the cold rise.
- Divide the dough into two equal pieces. Tuck the edges underneath, then roll each piece against the work surface to form a smooth, tight ball with the seam underneath.
- Place the balls in lightly oiled, covered containers. Refrigerate at 38°F to 40°F for 24 to 72 hours; 48 hours gives a useful balance of flavor, extensibility, and oven spring.
Keep the containers airtight so the dough surface does not dry out. If the dough has expanded dramatically and looks fragile before 24 hours, bake it sooner. If it remains dense after a full day, give it more time in the refrigerator rather than adding more yeast.
Divide, ball, and warm the dough before shaping
Remove the dough balls from the refrigerator 2 to 3 hours before baking. Keep them covered at room temperature, ideally around 68°F to 72°F. The dough is ready when each ball looks slightly puffy, feels relaxed, and slowly springs back when you press it gently.
Cold dough resists stretching and tends to snap back or tear. Overheated or overproofed dough becomes slack, sticky, and difficult to lift. If the balls still feel tight after two hours, give them another 30 to 60 minutes. Do not punch them down during this warming period; you want to preserve the gas created during fermentation.
Stretch thin and bake on a hot stone or steel
- Place a baking stone or steel in the upper-middle part of your oven. Preheat at the oven’s highest setting, preferably 500°F to 550°F, for at least 45 to 60 minutes. A fully heated surface is essential for a crisp base.
- Lightly flour the counter and place one dough ball on it. Press from the center outward with your fingertips, leaving a rim about 1/2 inch wide. Turn the dough as you work, then stretch it over your knuckles or lift one edge and let gravity help. Stop at roughly 12 inches, with a thin center and a slightly thicker rim.
- Transfer the dough to a semolina-dusted peel or a piece of parchment. Spread the sauce in a thin layer, leaving the rim bare, then add the mozzarella and a modest amount of toppings. Excess sauce, cheese, or wet toppings weigh down the center and prevent a crisp, foldable crust.
- Launch the pizza onto the hot stone or steel. Bake for 5 to 8 minutes, rotating it halfway if one side browns faster. If the crust is done underneath but the cheese needs more color, switch to the broiler for 30 to 90 seconds while watching closely.
Your pizza is ready when the rim is puffed and blistered, the cheese is fully melted with browned spots, and the underside has firm, dark-golden patches. The center should bend when you lift a slice but should not look wet or collapse under the toppings.