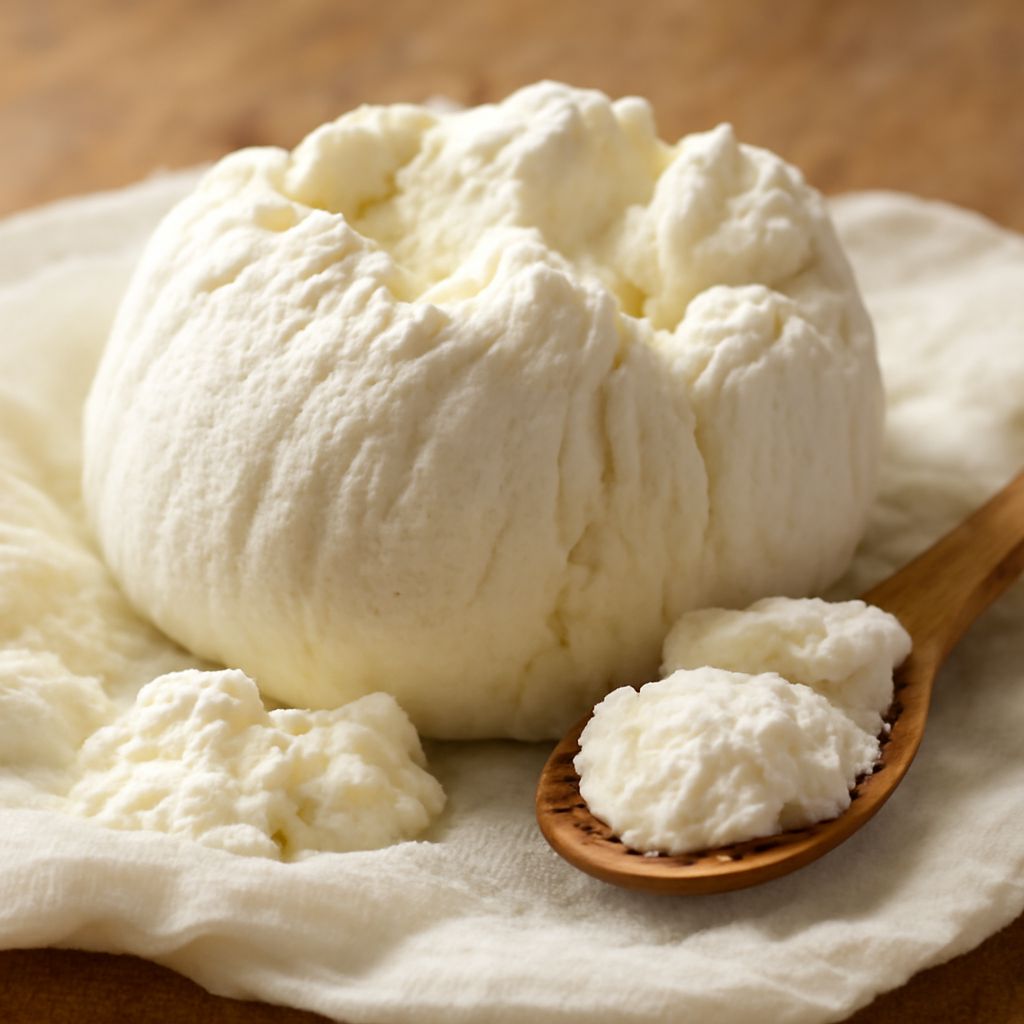
Cheese making is a rewarding DIY kitchen project that transforms simple ingredients into something delicious and unique. Whether you’re drawn to home cheese making for the taste, the science, or the satisfaction of creating something from scratch, this guide will walk you through every step you need to get started. You’ll learn what’s happening at each stage, what ingredients and equipment to use, how to troubleshoot common problems, and how to expand your repertoire from fresh cheeses to aged classics. By the end, you’ll have the confidence to make your own cheese at home, ready to enjoy or share with friends and family.
Understanding the Basics of Cheese Making
Cheese making is the process of turning milk into cheese by controlling its acidity and encouraging good bacteria to work for you. At its core, the process involves coagulating milk proteins (casein) by adding an acid (like lemon juice or vinegar) or rennet, then separating the solid curds from the liquid whey. The curds are what become cheese, while the whey is a nutritious byproduct you can use in bread, smoothies, or even as fertilizer.
There are two primary methods for curdling milk: acid coagulation and rennet coagulation. Acid-coagulated cheeses, such as ricotta or paneer, use lemon juice, vinegar, or citric acid to curdle the milk quickly. Rennet-coagulated cheeses, like mozzarella or cheddar, use a natural enzyme (rennet) to create a firmer curd, which can then be aged and developed into more complex cheeses. Each method results in different textures, flavors, and aging potential.
Fermentation is central to cheese making. Beneficial bacteria are added to milk to acidify it, competing with and suppressing spoilage microbes. These cultures not only help create the right environment for rennet or acid to coagulate the milk, they also add the signature flavors and aromas of different cheeses. Temperature, timing, and handling of curds all influence the final cheese.
Home cheese making gives you control over ingredients, allowing you to create cheeses that are fresher, more flavorful, and often healthier than store-bought options. You can experiment with milk from cows, goats, or sheep, organic or raw milk, and a range of cultures and rennets. The process is simple enough for beginners yet flexible enough to keep experienced home cheese makers engaged and inspired.
Essential Ingredients and Equipment for Home Cheese Making
Before you start your first batch, gather your ingredients and assemble your equipment. Having the right tools will make the process easier and raise your chances of success.
Key Ingredients:
- Milk: Use the freshest milk you can find. Whole cow’s milk is most common, but goat’s and sheep’s milk work well. Avoid ultra-pasteurized milk, as it won’t curdle properly. If you can access raw milk (where legal), it can make especially flavorful cheese, but pasteurized milk is perfectly suitable for home cheese making.
- Starter Cultures: These are live bacteria that acidify the milk and develop flavor. Common starter cultures include mesophilic (for soft cheeses like cream cheese) and thermophilic (for harder cheeses like mozzarella).
- Rennet: An enzyme that helps milk form a firm curd. Rennet is available in liquid, tablet, or powder form and can be animal-based or vegetarian (microbial or plant-derived).
- Acids: Some cheeses require an acid such as lemon juice, vinegar, or citric acid to coagulate the milk quickly (as with paneer or ricotta).
- Salt: Salt not only adds flavor but also helps preserve the cheese and control moisture.
Essential Equipment:
- Large Stainless Steel Pot: A non-reactive heavy-bottomed pot is crucial for gentle, even heating. Avoid aluminum unless it is clad to prevent interaction with milk acids.
- Thermometer: An accurate digital or dairy thermometer ensures you hit target temperatures for each stage.
- Long Knife or Curd Cutter: Needed to cut the curds evenly, helping whey drain efficiently.
- Slotted Spoon or Ladle: For stirring curds and scooping them out of whey.
- Butter Muslin or Cheesecloth: Fine-weave cheesecloth lines your colander and helps drain curds gently without losing them.
- Colander: Used to drain the curds after they’re separated from the whey.
- Cheese Mold and Follower: For harder, shaped cheeses, you’ll need a mold and a follower to press the curds.
- Cheese Press (optional): Used for pressing semi-hard and hard cheeses. You can start with a simple DIY press or invest in a commercial model.
- pH Meter or Acid Test Strips (optional): Advanced home cheese makers use these to track acidity during critical steps, but they’re not required for most beginner recipes.
Cleanliness is vital at every stage. Always sterilize your equipment before starting to prevent unwanted bacteria from spoiling your cheese. Boiling utensils or soaking them in a diluted bleach solution (followed by thorough rinsing) are standard practice.
Starter cheese making kits are available from suppliers like New England Cheesemaking Supply or Cultures for Health. These can be a convenient way to get the right ingredients and equipment in one package when you’re just beginning.
Step-by-Step Process: How to Make Cheese at Home
The following process covers a basic home cheese making method suitable for a beginner-friendly cheese like paneer, ricotta, or farmer’s cheese. Once you understand the fundamentals, you can adapt these steps for more advanced cheeses.
-
Prepare and Warm the Milk
Pour your milk into the sterilized pot. For most fresh cheeses, use one gallon (3.8 L) of whole milk, which yields about one pound (450 g) of finished cheese. Heat the milk slowly over medium-low heat, stirring gently to prevent scorching. Use your thermometer to reach the target temperature:
- For acid-set cheeses (ricotta, paneer): 180–190°F (82–88°C).
- For rennet-set cheeses (mozzarella, cheddar): 86–90°F (30–32°C) to start, higher for stretching as needed.
Do not boil the milk; overheating denatures proteins and reduces yield.
-
Add Cultures and Coagulant
For acid-coagulated cheeses, add your acid (e.g., 1/4 cup lemon juice or white vinegar per gallon of milk) while gently stirring. The milk should begin to curdle within minutes, forming white clumps (curds) and a yellowish liquid (whey).
For rennet-coagulated cheeses, first sprinkle the starter culture over the milk’s surface and let it rehydrate for a minute, then stir in gently. Let the milk ripen at the target temperature for 30–60 minutes. Next, add the dissolved rennet (as directed by your recipe, often 1/4 rennet tablet or 1/4 tsp liquid per gallon) and stir gently, then stop moving the milk to allow the curd to set.Let the milk sit undisturbed for the time specified (usually 30–60 minutes), until you get a clean break—a gentle finger inserted at an angle should reveal a firm curd with clear whey separating.
-
Cut and Cook the Curds
For rennet-set cheeses, use a long knife to cut the curd into even cubes, typically 1/2-inch (1 cm) squares. Cutting helps expel whey and defines the cheese’s texture. For acid-set cheeses, gentle stirring is often all that’s needed.
Slowly heat the curds, stirring gently to keep them separate, until they reach the recipe’s target temperature. This step helps firm the curds and expel more whey.
-
Drain the Curds
Line a colander with damp butter muslin or fine cheesecloth and place it over a bowl or sink. Ladle or pour the curds and whey into the colander. Gather the cloth corners and tie them to form a bag, then hang the curds to drain for 30–120 minutes, depending on how dry you want your cheese.
For cheeses like ricotta and paneer, draining for 30–60 minutes gives a moist, spreadable texture. For firmer cheeses, press with a light weight to remove additional whey.
-
Salt and Finish
Once drained, transfer the curds to a bowl and mix in salt to taste (typically 1–2 teaspoons per pound of curds). For some cheeses, you may also add herbs or spices at this stage.
If you’re making a shaped cheese, place the salted curds into a cheese mold lined with clean muslin and press to compact and form the cheese. For fresh cheeses, you can enjoy them right away or refrigerate and use within a week.
Each cheese recipe has its own timing nuances, so follow your specific instructions closely until you’re comfortable improvising. Record your work in a cheese making journal, noting temperatures, times, and observations for future reference.
Tips for Success and Troubleshooting Common Issues
Successful home cheese making relies on patience, precision, and a clean workspace. Here are practical pointers to help your cheese turn out right:
- Use High-Quality Milk: Avoid ultra-pasteurized or UHT milk—it won’t curdle properly. Local whole milk, either pasteurized or raw (if permitted), provides the best results. If your curds are too soft or don’t form, milk quality is a likely culprit.
- Respect Temperatures: Use a reliable thermometer and heat milk slowly. Rushing or overheating can result in poor texture or yield. Always follow the temperature guidelines for your chosen recipe.
- Keep It Clean: Sterilize all tools, pots, and cloths before starting. Unwanted bacteria can spoil your batch or give off-flavors.
- Be Patient: Don’t rush the curd-setting times, draining, or pressing phases. Cheese making is as much about waiting as it is about action.
Troubleshooting Common Problems:
- Curds Won’t Set: Check your milk’s quality and freshness. Make sure you used enough rennet or acid, and that it was thoroughly mixed in. Also, confirm the milk was at the right temperature.
- Curds Are Too Soft: This is often caused by low temperature, weak rennet, or old milk. Try increasing the rennet slightly next time or using fresher milk.
- Curds Are Rubbery or Dry: Overheating or over-cooking curds, or pressing with too much force or for too long, can cause this. Follow recipe instructions, and adjust pressing time and weight as needed.
- Off Flavors or Odors: Can result from dirty equipment or old milk. Always clean carefully and use the freshest ingredients possible.
- Mold Growth: Some cheeses develop harmless surface mold during aging, but if you see blue, black, or fuzzy mold on fresh cheese, discard it. For aged cheeses, surface mold can often be wiped away with a vinegar-soaked cloth.
Join online cheese making communities or forums to share experiences, ask questions, and learn from others. Experienced home cheese makers are generous with advice and troubleshooting tips, and adapting their methods to your own conditions can be invaluable.
Exploring Different Types of Homemade Cheese
Once you’re comfortable with the basics, you can explore a wide variety of cheeses. Here are some popular styles you can make at home, each with its own unique process and flavor profile:
- Fresh Cheeses: These are the simplest and quickest to make. Examples include ricotta, paneer, queso fresco, and farmer’s cheese. Fresh cheeses don’t require aging, can be made in an afternoon, and are ready to eat right away. They’re mild, creamy, and perfect for snacking, salads, or cooking.
- Soft Ripened Cheeses: Think of brie or camembert. These use specific molds (Penicillium candidum) to develop a bloomy rind and creamy texture. They require careful aging at controlled temperatures and humidity, but are achievable at home with patience and attention to detail.
- Semi-Hard and Hard Cheeses: Cheddar, gouda, and colby are classic examples. These cheeses use rennet and cultures, are pressed to expel more whey, and aged for weeks to months, developing firmer textures and robust flavors. Home cheese makers often start with basic cheddar and branch out as they gain confidence.
- Pasta Filata Cheeses: Mozzarella and provolone are in this family, where curds are heated and stretched to create a distinctive texture. Mozzarella is especially popular for its short aging time and versatility.
- Goat and Sheep Milk Cheeses: Chevre (fresh goat cheese) is easy to make with goat milk and a mesophilic culture. You can also make feta with sheep or goat milk, using rennet and a salt brine.
As you gain experience, try adding herbs, spices, or even edible flowers to your cheeses for visual appeal and unique flavors. You can also experiment with aging cheeses in different conditions, using wax or vacuum sealing, to refine texture and taste. Home cheese making opens the door to a world of creativity and flavor experimentation.
With careful attention to detail, quality ingredients, and the right equipment, cheese making at home can become a satisfying and delicious hobby. Each batch is a learning experience, and the results are well worth the effort—fresh, flavorful cheeses tailored to your taste.