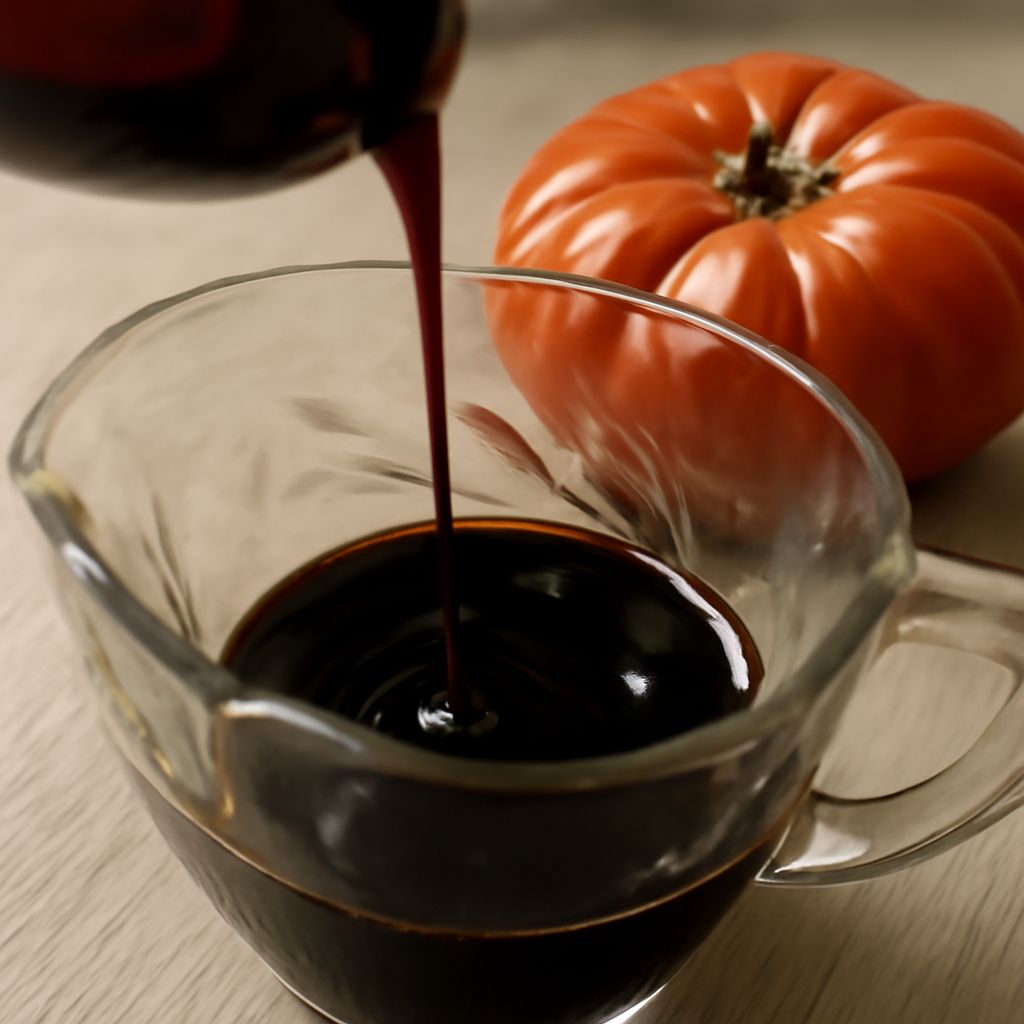
You can make a balsamic reduction recipe with just one main ingredient: balsamic vinegar. Simmer it slowly until it becomes glossy, syrupy, and naturally sweet-tart. In about 10 minutes, you’ll have a simple glaze you can drizzle over vegetables, salads, fruit, chicken, steak, or cheese.
If you want a thicker finish, keep reducing a little longer. If you want a looser sauce, stop sooner. The key is low heat, patience, and watching the texture closely near the end.
Balsamic Reduction Recipe Ingredients and Preparation
For a basic balsamic vinegar reduction, you need:
- 2 cups balsamic vinegar
- Optional: 1 to 2 teaspoons honey or maple syrup for a sweeter glaze
- Optional: a pinch of salt if you want a more rounded flavor
Choose a balsamic vinegar you like tasting on its own. Better vinegar gives you better flavor after reduction, because the taste concentrates as the liquid cooks down.
You also need a small saucepan and a spoon or silicone spatula. Use a wider pan if you want the vinegar to reduce faster. A heavier pan helps prevent scorching.
How to Make Balsamic Reduction
- Pour 2 cups balsamic vinegar into a saucepan. Add honey or maple syrup only if you want a sweeter glaze.
- Set the pan over medium heat. Bring the vinegar just to a gentle simmer, not a hard boil.
- Lower the heat to medium-low. Let it simmer steadily for 8 to 12 minutes, stirring every minute or so.
- Watch the volume drop. You want the vinegar to reduce by about half, or until it lightly coats a spoon.
- Remove it from the heat when it looks slightly thinner than you want. It thickens more as it cools.
If you are making balsamic glaze for the first time, start checking around the 8-minute mark. The exact time depends on pan size, burner strength, and how thick you want the final result. A larger pan can finish in less time; a small pan may take a few extra minutes.
Do not walk away from the stove. Once the liquid gets close to done, it can go from perfect to too thick very fast. If it starts smoking or darkening too much, the heat is too high.
How to Tell When It’s Ready
The finished reduction should look glossy and coat the back of a spoon. When you drag a finger through the coating on the spoon, the line should hold for a moment.
Use these cues to avoid overcooking:
- Ready: it drips slowly from the spoon and looks syrupy.
- Almost ready: it still looks a little loose in the pan but clings to the spoon.
- Overdone: it becomes sticky, very dark, or hardens as it cools.
If your vinegar reduction turns too thick, whisk in a teaspoon of warm water at a time to loosen it. If it tastes harsh or burnt, it was reduced too far and can’t be fixed well, so start over with lower heat next time.
Remember that a balsamic reduction recipe always thickens more after you take it off the stove. That means the best stopping point is slightly earlier than the final texture you want on the plate.
Serve, Store, or Vary the Balsamic Reduction
Use the reduction warm or at room temperature. Spoon it over strawberries, peaches, tomatoes, grilled vegetables, caprese salad, roasted Brussels sprouts, chicken, pork, salmon, or vanilla ice cream. A little goes a long way.
To make balsamic glaze more balanced for savory dishes, add a tiny pinch of salt near the end. To make it sweeter for fruit, stir in honey after reducing, then taste. For a stronger herb note, infuse the vinegar with a rosemary sprig while simmering, then remove it before storing.
To store, let the reduction cool completely, then transfer it to a jar or airtight container. Keep it in the refrigerator for up to 2 weeks. It will thicken when cold, so warm it briefly or let it sit at room temperature before serving.
If it becomes too thick in the fridge, stir in a few drops of warm water until it loosens. If you want a bigger batch, scale the recipe up, but keep the same slow simmering method. For a faster vinegar reduction, use a wider pan rather than turning up the heat.
When you’re learning how to make balsamic reduction, the main rule is simple: reduce gently and stop before it looks fully done in the pan. That gives you a smooth, glossy finish instead of a sticky one.