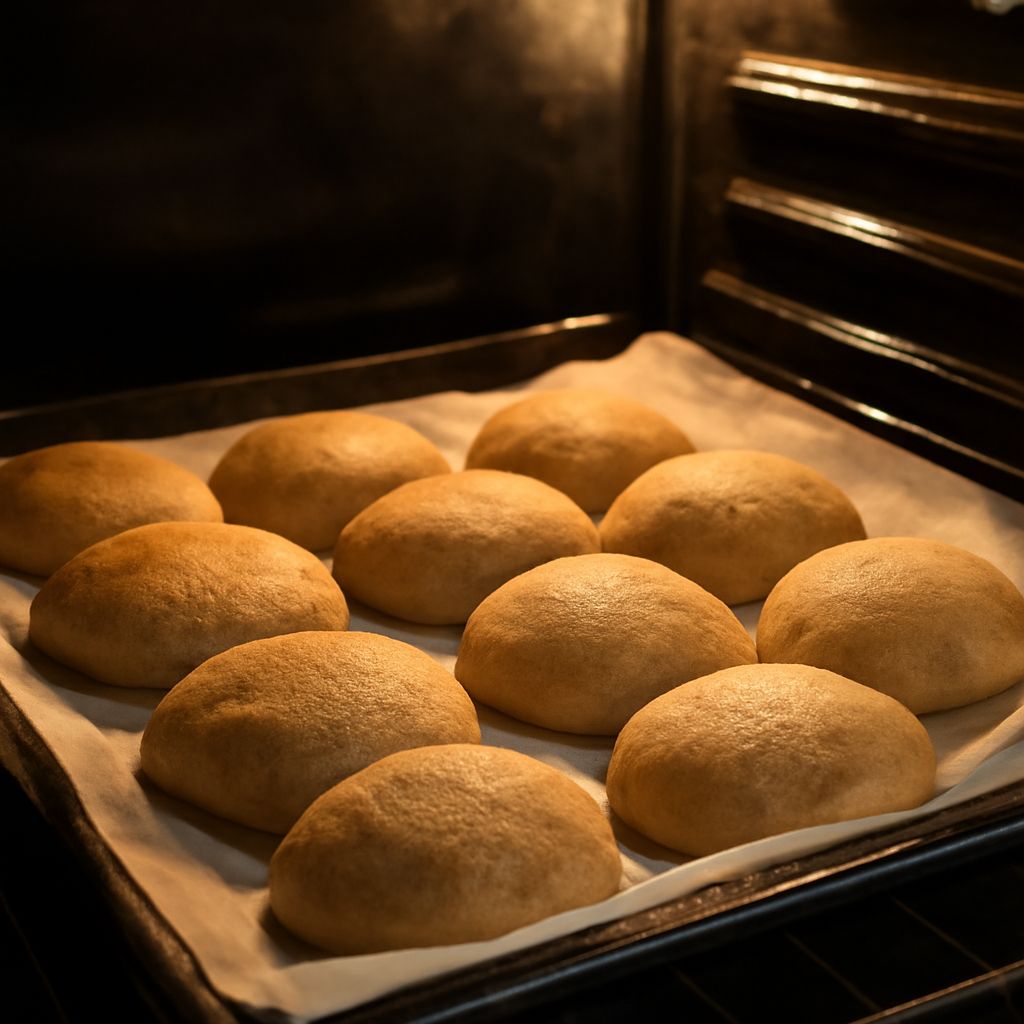
Proofing bread is the stage when yeast-fermented dough develops gas, structure, and flavor before baking. If you want good crumb and oven spring, you need to know not just what is bread proofing, but how to tell when your dough is actually ready.
In practice, dough proofing has two parts: the first rise, often called bulk fermentation, and the final proof after shaping. Temperature, dough strength, and visible cues matter more than the clock alone. That is what separates workable bread from flat or dense loaves.
What bread proofing means
What is bread proofing? It is the resting period when yeast converts sugars into carbon dioxide and alcohol, causing the dough to expand and mature. During this time, gluten stretches, flavor deepens, and the dough gains the structure it needs to hold shape in the oven.
Proofing is not just “waiting for it to rise.” You are managing fermentation. A dough that is too cool may move slowly even if it is technically healthy. A dough that is too warm can race ahead, weaken, and overexpand before baking. The goal is not a fixed time; it is a dough that looks aerated, feels lighter, and still has strength.
For most lean doughs, a room-temperature proof happens around 70 to 78°F. Cooler kitchens can slow the process a lot, while enriched doughs with butter, milk, or eggs often need more time because fat and sugar slow yeast activity.
How to proof dough in two stages
The simplest way to manage proofing bread is to think in stages:
1) Bulk fermentation, or the first rise
After mixing and initial kneading or folding, let the dough rise as one mass. This stage builds strength and fermentation together. Depending on recipe style, yeast amount, and temperature, bulk fermentation can take about 1 to 3 hours at room temperature, or longer if the dough is cool or lightly inoculated.
During bulk, you are looking for a dough that increases in volume, becomes smoother, and shows bubbles along the sides or surface. For many doughs, a rise of about 50% to 100% is more useful than chasing a precise clock. Some artisan doughs are shaped before a full double, so use the recipe style as a guide and watch the dough itself.
If your dough needs folds, do them early in bulk. Stretch-and-fold or coil folds strengthen gluten, help trap gas, and improve handling later. After the final fold, let the dough rest undisturbed until it looks active and elastic.
2) Final proof, or the proof after shaping
Once you shape the loaf, it needs a second rise. This is the stage most bakers mean when they ask about what is bread proofing. The shaped dough relaxes, expands, and prepares for the oven.
Final proof usually takes 30 minutes to 2 hours at room temperature, though it can be much shorter for warm, high-yeast dough or longer for cold dough. If you refrigerate shaped dough, the proof may continue slowly for several hours or overnight. That cold rest can improve flavor and make scoring easier.
Keep the shaped dough covered so the surface does not dry out. Use a lightly oiled bowl, banneton, or lined pan so the dough can expand without tearing.
How to tell when dough is ready
Use three cues together: volume, surface look, and touch.
- Volume: The dough should have expanded enough to look airy and alive, not tight and compact.
- Surface: Look for a smoother dome, scattered bubbles, and a slightly puffy edge.
- Touch: Press the dough gently with a floured finger. It should spring back slowly and leave a shallow indentation.
If the indentation fills in quickly, the dough is usually underproofed and needs more time. If it barely springs back or collapses, it may be overproofed.
For shaped loaves, a simple readiness test is the poke test. A properly proofed dough feels full but delicate, like a cushion under tension. You should be able to handle it without it turning slack or deflating immediately.
Temperature changes the answer. At 75°F, a loaf may be ready in under an hour. At 68°F, it may take much longer. Dough strength matters too: a high-hydration dough with good gluten development may show readiness sooner than a soft dough with weak structure.
Proofing bread in an oven
Proofing bread in oven conditions can help when your kitchen is cold. Use the oven as a warm, draft-free box, not a hot chamber. The best target is a very low, gentle warmth around 75 to 85°F, which keeps yeast active without cooking the dough.
You can create this environment in a few ways:
- Turn the oven on for 1 minute, then switch it off and place the covered dough inside.
- Set the dough near the oven light if that light produces mild warmth.
- Place a mug or pan of hot water in the oven to help stabilize a slightly warmer proofing space.
Check the dough often. Ovens vary a lot, and a proofing space that feels “just warm” to you can become too warm for enriched or delicate dough. If the dough starts to look greasy, overly puffed, or fragile, move it out immediately.
For safety and consistency, avoid using a preheated oven unless you can confirm the temperature is very low. If the oven feels warm enough to make you pull your hand away, it is probably too hot for proofing.
What to do if dough is underproofed or overproofed
Underproofed dough is still tight, dense, and resistant. It may tear when shaped or burst unpredictably in the oven. If you catch it early, give it more time at a warmer room temperature and retest after 15 to 20 minutes. If it is already shaped and only slightly underproofed, you can extend the final rise until the dough relaxes and passes the poke test.
If underproofing is severe, the loaf may still bake, but the crumb can be dense and the crust may split. You usually recover best by allowing more fermentation rather than rushing the bake.
Overproofed dough looks very inflated, feels fragile, and may sag when moved. The poke test leaves a deep dent that does not recover. At this point, the dough has likely used up too much structural strength.
If the dough is only slightly overproofed, you can degas it gently, reshape it, and give it a shorter second proof. This is often your best salvage option for sandwich loaves or pan breads. If it is badly overproofed, the loaf may still bake into a usable but flatter bread; you can place it in a pan if shape support matters.
To avoid both problems, track dough behavior instead of relying on the clock alone. In bread proofing, the right answer is the dough that looks expanded, feels supple, and still has enough strength to hold shape when it enters the oven.