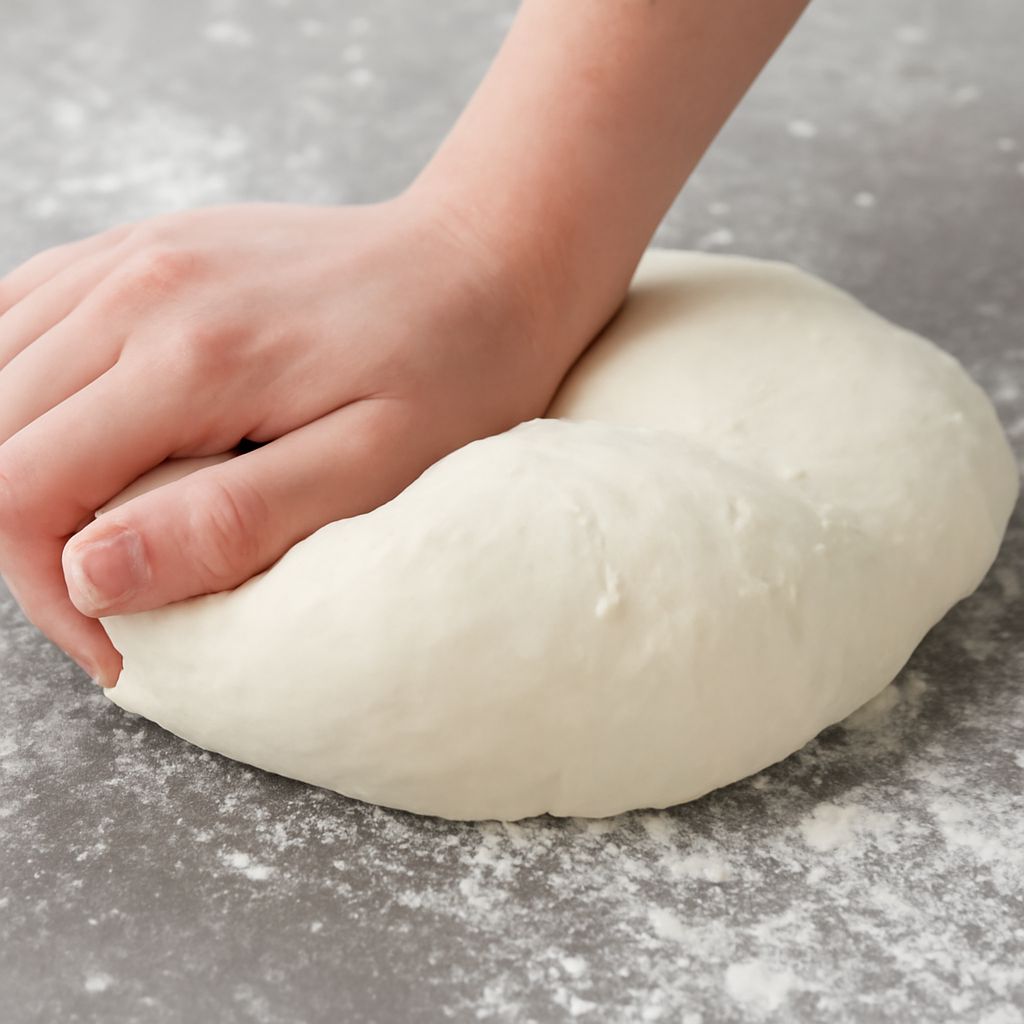
To learn how to knead bread, mix the ingredients until the flour is fully hydrated, rest the shaggy dough, then use a repeated fold, push, and turn motion. Work for about 8–12 minutes at a time, adding 10–20-minute rests whenever the dough feels unusually sticky or tight. Stop when the dough feels smoother, springs back, and stretches into a thin windowpane without tearing immediately.
This method works for a typical 500g-flour dough, whether you are making a lean loaf with flour, water, salt, and yeast or a richer dough containing milk, eggs, sugar, or butter.
How to Knead Bread: Start with a Shaggy Dough and Prepare the Work Surface
For a useful baseline, combine 500g bread flour, 325–350g water, 10g salt, and about 7g instant yeast. The exact formula may vary, but this gives you a moderately hydrated lean dough that is manageable by hand. Enriched doughs often replace some water with milk or eggs and may include 25–75g sugar and 50–100g butter.
- Mix the flour, liquid, yeast, and salt in a bowl until no dry flour remains. A dough whisk, sturdy spoon, or your hand will work.
- Cover the bowl and let the mixture stand for 10–20 minutes. This short rest hydrates the flour and begins gluten formation before active kneading.
- Scrape the dough onto a clean, unfloured work surface. Keep a dough scraper nearby and lightly oil or wet your hands if necessary.
The initial dough should look shaggy, uneven, and somewhat sticky. It may tear easily and feel more like a rough mass than a smooth ball. Kneading begins after the ingredients are fully mixed and the short rest is complete—not while dry flour is still visible. Avoid adding a large amount of flour at this stage; excess flour can make the finished loaf dense and dry.
How to Knead Bread Dough by Hand: Fold, Push, and Turn for 8–12 Minutes
Use the same motion repeatedly:
- Lightly flour or oil your hands, then gather the dough into a loose ball.
- Use the heel of your dominant hand to push the dough forward and slightly away from you.
- Fold the stretched portion back over the center.
- Turn the dough about a quarter turn and repeat.
Push firmly enough to stretch the dough, but do not tear it aggressively. After several turns, the dough should become more cohesive and begin pulling away from the work surface. If it sticks, use the scraper to lift it and continue rather than immediately burying it in flour.
For most lean doughs, knead actively for 8–12 minutes, then assess the texture. A very wet dough may need another short work period after a rest. Enriched doughs commonly take 10–15 minutes of total active kneading because sugar, eggs, and butter slow gluten development. The time is only a guide: texture and elasticity determine when kneading is complete.
If the dough is too sticky to handle, use a fast slap-and-fold motion instead. Lift one edge, slap the dough onto the counter, stretch it slightly, and fold it over itself. Repeat until it gains enough strength to use the standard fold-and-push rhythm.
Kneading Bread Dough: Read Texture in Lean and Enriched Formulas
During kneading bread dough, stickiness normally changes in stages. At first, the dough may coat your fingers and smear across the counter. As gluten develops, it should feel less sticky, more elastic, and easier to gather. It may still feel slightly tacky; tackiness is not the same as wetness or failure.
A lean dough made from flour, water, salt, and yeast usually strengthens relatively quickly. It should become smooth and satiny, hold a rounded shape for a short time, and resist being pulled apart. When you press it with a fingertip, it should feel springy rather than paste-like.
An enriched dough behaves differently. Butter coats flour proteins, while sugar attracts water, so the dough may seem greasy, soft, or loose after mixing. Knead until the dough becomes cohesive before judging its strength. If the formula includes butter, add it after the flour, liquid, yeast, and salt have formed a rough dough. Incorporate softened butter a little at a time, then continue kneading.
Do not correct every sticky dough with flour. If the dough has structure and stretches without immediately breaking, a rest will often improve it more effectively than extra flour. Conversely, if it feels stiff, tears whenever you push it, or refuses to stretch, stop working and let it relax.
How do you knead dough? Use 10–20-Minute Rests for Sticky or Tight Dough
If you are asking how do you knead dough without exhausting yourself or overworking the dough, use cycles of work and rest:
- For sticky dough: Knead for 2–3 minutes, cover it, and rest for 10–20 minutes. The flour will absorb more moisture and the gluten will organize. Resume with damp or lightly oiled hands.
- For tight dough: Stop kneading, cover the dough, and rest it for 10–15 minutes. A relaxed dough should stretch farther with less resistance.
- For dough that keeps spreading: Use a scraper to gather it, knead for another 2–3 minutes, and rest again. Avoid adding flour unless the dough remains genuinely unmanageable after the rest.
These pauses are especially helpful with high-hydration doughs and enriched formulas. A dough can seem weaker halfway through kneading because the gluten has been stretched repeatedly. That temporary slackness does not necessarily mean you need more force. Covering the dough prevents a dry skin from forming while it rests.
After each rest, compare the dough with its earlier state. It should stretch more easily, feel less ragged, and return more slowly when pressed. If it still tears sharply after two or three work-and-rest cycles, knead briefly again and reassess rather than relying on a fixed minute count.
Test Gluten Development Before Bulk Fermentation
Before moving the dough to bulk fermentation, check three related signs: smoothness, spring, and stretch.
- Smoothness: The surface should look mostly even and slightly satiny. Small rough patches are acceptable, especially in whole-grain dough, but the dough should no longer look shaggy.
- Spring: Press the dough gently with a fingertip. It should resist slightly and begin to spring back. A deep indentation that stays in place suggests the dough is still weak or very relaxed.
- Windowpane: Pinch off a small piece and let it rest for a few seconds. Stretch it slowly between your fingers. Ready dough forms a thin, elastic sheet that lets light through before a small hole appears.
The windowpane does not need to be perfectly transparent. Whole-wheat flour, bran, and rye weaken gluten, so those doughs may tear sooner while still being ready. Use the test together with the dough’s smoothness and spring. If the sample tears immediately into jagged edges, knead for 2–3 more minutes, rest for 10 minutes, and test again.
Once the dough feels cohesive, elastic, and sufficiently developed, shape it into a ball, place it seam-side down in a lightly oiled bowl, cover it, and begin bulk fermentation. The dough is ready for that next stage when it can hold its shape briefly and passes the combined texture check—not simply because a certain number of minutes has elapsed.