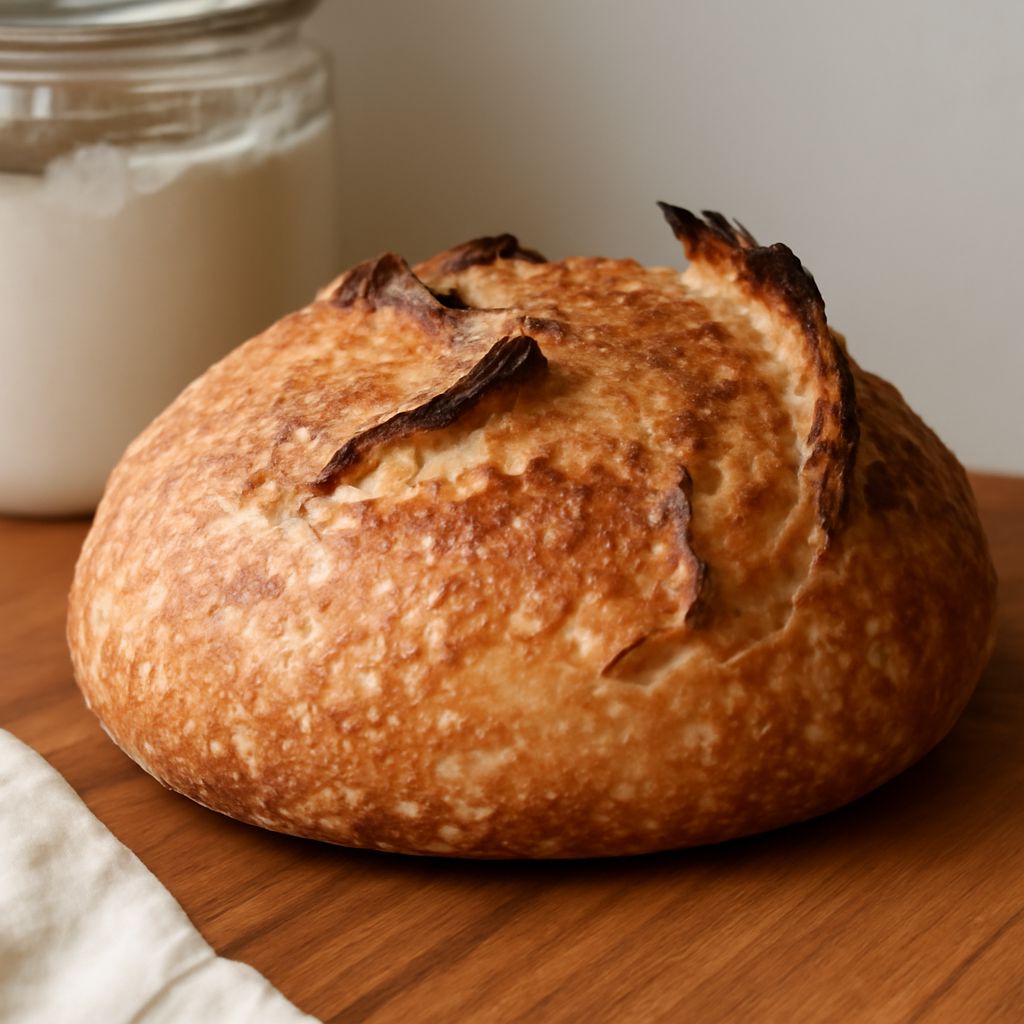
Baking sourdough bread is a rewarding and delicious endeavor. Whether you’re a novice baker or someone with experience, understanding the intricacies of how to bake sourdough bread can lead to satisfying results. This guide will walk you through the essential steps, from creating a sourdough starter to troubleshooting common issues, ensuring you achieve the perfect loaf every time.
Understanding Sourdough and Its Unique Qualities
Sourdough bread is known for its distinctive tangy flavor, chewy texture, and crisp crust. What sets it apart from other types of bread is the use of a natural starter instead of commercial yeast. The starter is a mixture of flour and water that ferments over time, capturing wild yeast and bacteria from the environment. This fermentation process is what gives sourdough its unique taste and texture.
Essential Ingredients and Tools for Sourdough Bread
Before diving into sourdough bread recipes, you’ll need a few essential ingredients and tools:
- Flour: Use high-quality unbleached all-purpose or bread flour for best results.
- Water: Filtered or bottled water is preferred to avoid any chlorine that can affect fermentation.
- Salt: Fine sea salt or kosher salt is recommended for flavor.
- Sourdough Starter: Refer to the next section on how to make sourdough starter from scratch.
- Mixing Bowl: A large, non-reactive bowl for mixing ingredients.
- Dutch Oven: Provides the ideal environment for baking sourdough, trapping steam for a crispy crust.
- Bench Scraper: Useful for folding and shaping the dough.
- Kitchen Scale: Precise measurements yield more consistent results.
Creating and Maintaining Your Sourdough Starter
Learning how to make sourdough starter is fundamental. Here’s a simple method:
- Day 1: Combine 50g of unbleached flour and 50g of water in a glass jar. Stir until smooth, cover loosely, and let sit at room temperature.
- Day 2-7: Discard half the starter and feed with 50g of flour and 50g of water daily. The starter is ready when it doubles in size within 4-6 hours after feeding and has a pleasant, tangy aroma.
Maintain your starter by continuing regular feedings. Store in the refrigerator if not using daily, feeding weekly to keep it active.
Step-by-Step Sourdough Bread Recipe
Follow this sourdough bread recipe with starter for a reliable loaf:
- Autolyse: In a bowl, mix 500g flour and 350g water. Let sit for 30 minutes to hydrate the flour.
- Mix: Add 100g active starter and 10g salt. Mix until a rough dough forms.
- Bulk Fermentation: Cover and let the dough rise at room temperature for 4-5 hours, folding every 30 minutes for the first 2 hours.
- Pre-shape: Lightly flour a surface, turn out the dough, and shape into a round. Rest for 20 minutes.
- Shape: Shape the dough into a tight ball and place it seam-side up in a floured proofing basket.
- Final Proof: Let it rise in the refrigerator overnight or at room temperature until slightly puffy.
- Bake: Preheat the oven with a Dutch oven inside to 475°F (245°C). Transfer the dough to parchment paper, score the top, and bake covered for 20 minutes, then uncovered for 25 minutes until deep brown.
The result is a loaf with a crisp crust and a chewy, flavorful crumb.
Troubleshooting Common Sourdough Issues
If you encounter challenges, here are some solutions:
- Dough Not Rising: Ensure your starter is active. It should double in size and be bubbly before use.
- Dense Bread: Insufficient fermentation time or too much flour could be the cause. Adjust proofing times and measurements.
- Overly Sour Flavor: Reduce fermentation time or use a younger starter for a milder taste.
- Sticky Dough: Sticky dough can be corrected by adding a little more flour during mixing or shaping.
With practice and patience, you’ll master these techniques and be able to create delicious sourdough bread at home. Enjoy the process and the delightful aroma of freshly baked bread filling your kitchen.