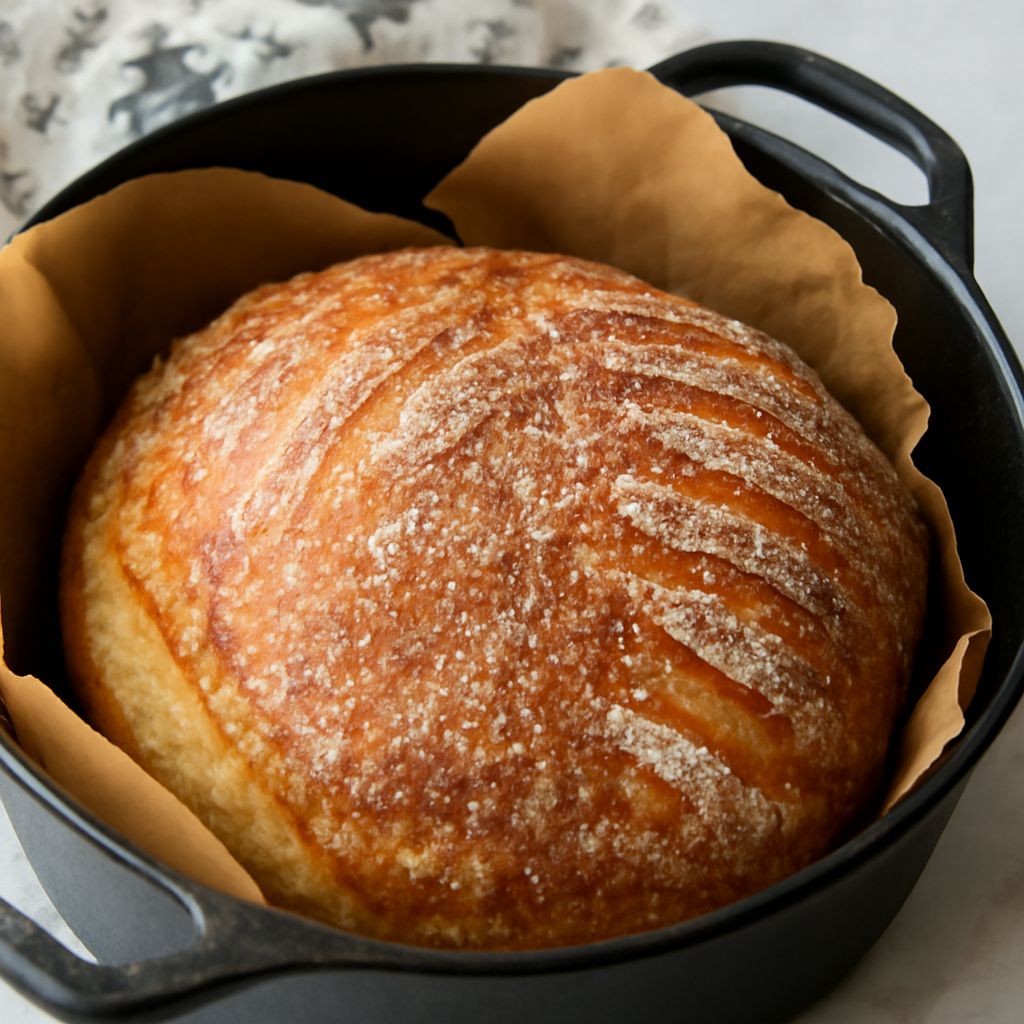
Sourdough bread has captivated home bakers across the world, with its tangy flavor and chewy texture. Learning how to make sourdough bread at home can be a rewarding experience, connecting you to an age-old tradition of bread-making. Whether you’re a novice or a seasoned baker, this guide will walk you through a basic sourdough recipe so you can enjoy freshly baked sourdough bread in your own kitchen.
Understanding Sourdough Bread Basics
Sourdough bread is unique due to its fermentation process, which involves naturally occurring lactobacilli and wild yeast. Unlike bread made with commercial yeast, sourdough is leavened with a sourdough starter—a mixture of flour and water that captures natural yeast and bacteria from the environment. This process not only enhances the flavor but also results in a distinctive texture and longer shelf life.
Essential Ingredients for Sourdough Bread
- Flour: A combination of all-purpose and whole wheat flour is commonly used, although you can experiment with different types.
- Water: Filtered or bottled water is recommended to avoid chlorine, which can inhibit fermentation.
- Sourdough Starter: This is the key ingredient for sourdough bread. Ensure your starter is active and bubbly before beginning.
- Salt: A small amount of salt enhances flavor and strengthens the dough.
Step-by-Step Sourdough Bread Recipe
- Feed Your Starter: Ensure your sourdough starter is active. Feed it 4-8 hours before you plan to start baking, allowing it to double in size and become bubbly.
- Mix the Dough: In a large bowl, combine 500g of flour, 350g of water, and 100g of active sourdough starter. Mix until a rough dough forms, then let it rest for 30 minutes.
- Add Salt: Sprinkle 10g of salt over the dough and incorporate it by pinching and folding the dough. This helps strengthen the gluten structure.
- Bulk Fermentation: Cover the bowl with a damp cloth and let the dough ferment at room temperature for 4-5 hours, performing stretch and fold techniques every 30 minutes for the first 2 hours.
- Shape the Dough: Turn the dough onto a lightly floured surface. Shape it into a tight ball by folding the edges into the center and flipping it over. Let it rest for 20 minutes.
- Final Shape and Proof: Reshape the dough into a round or oval loaf. Place it in a floured proofing basket, seam side up, and cover with a cloth. Refrigerate for 12-14 hours for the final proof.
- Preheat and Bake: Preheat your oven to 475°F (245°C) with a Dutch oven inside. Carefully transfer the dough to the hot Dutch oven, score the top, cover, and bake for 20 minutes. Remove the lid and bake for an additional 25-30 minutes until golden brown.
- Cool and Enjoy: Let the bread cool on a wire rack for at least an hour before slicing. This allows the crumb to set properly.
Tips for Perfecting Your Sourdough
- Maintain Your Starter: Regularly feed your starter to keep it healthy and fermenting efficiently.
- Temperature Control: Fermentation is affected by temperature, so adjust your proofing times based on the warmth of your kitchen.
- Hydration Levels: Experiment with different water ratios to achieve the desired crumb structure and texture.
- Practice Patience: Sourdough bread-making is a slow process that requires patience and practice to master.
Common Mistakes and How to Avoid Them
- Inactive Starter: If your bread isn’t rising, your starter might not be active enough. Ensure it’s bubbly and has doubled in size before use.
- Under-Proofing: Rushing the proofing process can lead to dense bread. Allow enough time for the dough to rise and develop flavor.
- Over-Kneading: Sourdough requires less kneading than other breads. Use gentle folding techniques to develop gluten without overworking the dough.
- Poor Scoring: Proper scoring allows steam to escape and gives the bread room to expand. Use a sharp blade for clean cuts.