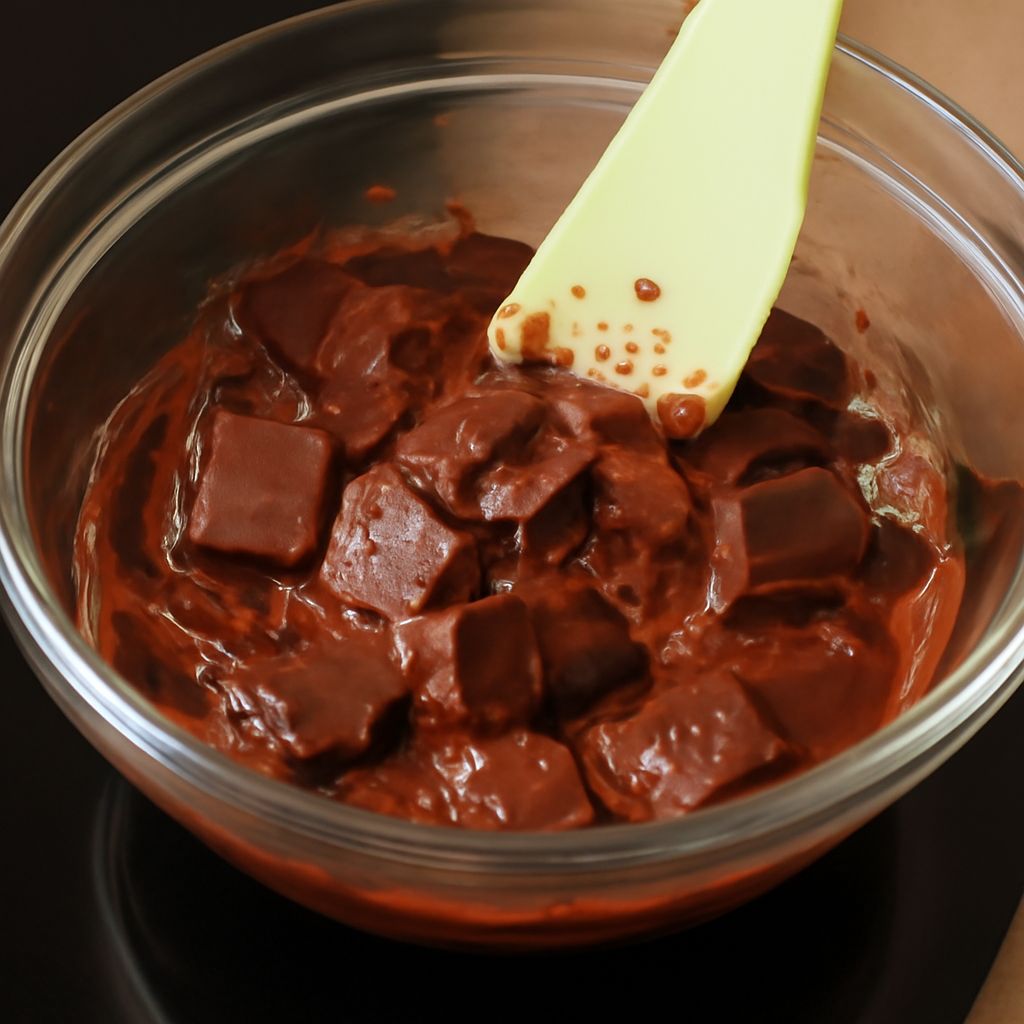
Melting chocolate wafers is a foundational skill for home bakers, confectioners, and dessert enthusiasts. If you want perfectly smooth chocolate for dipping, drizzling, or candy making, learning how to melt chocolate in a double boiler will give you reliable results every time. This guide covers why chocolate wafers are best for melting, explains the double boiler method, walks you through each step, and helps you troubleshoot any issues that might arise along the way—all so you can achieve glossy, lump-free melted chocolate with confidence.
Why Use Chocolate Wafers for Melting?
Chocolate wafers are specially designed for melting. Unlike chocolate chips or regular baking bars, wafers have a balanced ratio of cocoa butter to cocoa solids, and they’re formulated to melt smoothly without seizing or becoming grainy. This makes them ideal for projects like coating strawberries, making chocolate bark, dipping pretzels, or creating molded candies.
Brands like Merckens, Ghirardelli, Guittard, and Wilton offer chocolate wafers in dark, milk, and white chocolate varieties. Each type has a consistent size and shape—flat, disc-like pieces—that melts faster and more evenly than chunks or chips. The uniformity ensures even heat distribution so you don’t end up with bits that stay solid while others scorch. Most melting chocolate wafers also contain a small amount of added vegetable oil or lecithin, which further promotes a silky, fluid texture.
Using chocolate wafers means you can skip the tedious step of chopping a chocolate bar and eliminates much of the guesswork. Because these products are intended for candy making, they also tend to set up with a glossy finish and firm texture, which is exactly what you want for coating or dipping. While you can melt other types of chocolate, if your goal is to achieve consistently professional results, chocolate wafers are the easiest choice.
For anyone making chocolate-dipped treats at home, or producing larger batches for events or holidays, chocolate wafers offer a reliable shortcut. They’re available in most baking aisles and online, so you can choose the flavor and color that works best for your recipe or occasion.
What Is a Double Boiler and Why Does It Work?
A double boiler is a classic kitchen setup used for gently heating foods that are sensitive to direct heat. It consists of two parts: a bottom saucepan filled with simmering water and a top bowl (often metal or glass) that fits snugly over the pot but does not touch the water. The steam from the hot water gently heats the bowl, melting its contents gradually and evenly.
This method is especially important when working with chocolate. Chocolate can scorch, seize, or develop a grainy texture if it gets too hot or if it’s exposed to direct flame. By using a double boiler, you keep the temperature below 120°F (49°C) for dark chocolate and below 110°F (43°C) for milk or white chocolate. These temperatures are well below the point where chocolate burns or loses its temper.
While you can buy a dedicated double boiler, you can also improvise one at home. Use any medium saucepan and set a heat-safe glass or metal bowl on top, making sure the bottom of the bowl doesn’t touch the simmering water. The key is to let the gentle steam do the work, rather than exposing the chocolate to direct heat from the stove.
Using a double boiler to melt chocolate wafers gives you more control over the melting process versus microwaving, which can create hot spots and burn the chocolate quickly. The gradual, even heat helps you achieve a glossy, lump-free consistency every time, making it the preferred method for professional results.
How to Melt Chocolate Wafers in a Double Boiler: Step-by-Step
To melt chocolate wafers in a double boiler, you’ll need:
- Chocolate wafers (choose your preferred type and quantity)
- A medium saucepan
- A heat-safe glass or metal mixing bowl
- A silicone spatula or wooden spoon
- Water
- Prepare the Double Boiler: Fill the saucepan with 1 to 2 inches of water. Bring it to a gentle simmer over medium heat, not a rolling boil. Too much steam or bubbling water can splash into the chocolate and cause seizing.
- Set Up the Bowl: Place the bowl on top of the saucepan. Make sure the bottom of the bowl doesn’t touch the water. The bowl should fit snugly, trapping the steam beneath it without letting water into the chocolate.
- Add Chocolate Wafers: Pour your chocolate wafers into the bowl. Use about 8 ounces (roughly 1 cup) for small projects, scaling up as needed. Don’t overfill; a shallow layer melts more evenly.
- Begin Melting: Stir the chocolate wafers frequently with a silicone spatula as they begin to soften. Scrape the sides and bottom to ensure everything melts at the same rate. Avoid using wooden utensils that might retain moisture.
- Monitor the Temperature: Keep the heat on low and watch the chocolate closely. If you have a kitchen thermometer, aim to keep the chocolate below 120°F (49°C) for dark chocolate or 110°F (43°C) for milk and white. Remove the bowl from the heat if it gets too hot or if most of the wafers have melted—residual heat will finish the job.
- Finish and Use: Once the chocolate wafers are fully melted and smooth, turn off the heat. Wipe the bottom of the bowl with a towel to prevent steam or condensation from dripping into your chocolate. Use the melted chocolate immediately for dipping, drizzling, or pouring into molds.
You can melt as little as a half cup or as much as several cups of chocolate wafers at a time, but it’s always best to work in manageable batches. If the chocolate starts to thicken as it cools, you can return the bowl to the double boiler briefly, stirring constantly, until it softens again.
For extra flavor, you can stir in a few drops of oil-based flavoring or a tablespoon of neutral oil (such as coconut or vegetable) after melting, but avoid adding water-based extracts or flavorings, which will cause the chocolate to seize.
Remember: never let water get into your bowl of chocolate wafers. Even a small amount can cause the chocolate to clump and seize, creating a gritty, unusable mess. Always keep your utensils and bowls dry, and be cautious when lifting the bowl to avoid drips from condensation.
Tips for Achieving Smooth, Shiny Melted Chocolate
The key to perfectly melted chocolate wafers is patience and attention to detail. Here are expert tips to help you get glossy, professional-quality results every time you melt chocolate in a double boiler:
- Use Dry Tools: Even a drop of water can cause chocolate to seize. Always dry your mixing bowl, spatula, and hands thoroughly before you begin. Avoid using wooden tools, which can retain moisture.
- Don’t Rush the Process: Melting chocolate requires gentle, gradual heat. Rushing or turning up the heat to speed things along will quickly overheat the chocolate, leading to a dull or grainy texture.
- Stir Constantly: Stirring helps distribute the heat evenly and prevents hot spots from forming. Scrape the sides and bottom of the bowl regularly to ensure all the chocolate wafers melt at the same rate.
- Monitor Temperature: If you have a thermometer, use it to keep the chocolate within the ideal temperature range. If you don’t, watch for visual cues: chocolate should be silky and pourable, not thick or lumpy.
- Use Small Batches: If you’re melting a large quantity, do it in smaller batches to keep the chocolate smooth and manageable. Overcrowding the bowl can lead to uneven melting and difficulty stirring.
- Add Oil for Extra Fluidity: If your melted chocolate seems too thick for dipping, stir in a teaspoon or two of neutral oil (like canola or coconut). This will thin the chocolate slightly and improve its flow, making it easier to coat treats or pour into molds.
- Avoid Water-Based Additives: Flavorings or colorings should always be oil-based. Water-based additives cause chocolate to seize. If you need to color white chocolate, look for oil-based food coloring specifically labeled for chocolate.
- Reheat Gently as Needed: If the chocolate starts to set up or thicken while you work, return the bowl to the double boiler for 10-15 seconds, stirring until the chocolate is fluid again.
For the best shine and snap, use fresh chocolate wafers and avoid overheating. If you’re making dipped candies or chocolate bark, try working in a cool, dry environment—the chocolate will set more quickly and with a better finish. Aim to complete your dipping or molding before the chocolate cools and thickens; otherwise, you may need to gently rewarm in the double boiler to maintain the ideal texture.
Common Problems and Solutions When Melting Chocolate Wafers
Even with careful technique, you might encounter some common pitfalls when melting chocolate wafers. Here’s how to identify and fix issues for smooth, shiny results:
- Chocolate Seizes (Turns Grainy and Thick): This usually happens if water gets into the chocolate or if it’s overheated. If your chocolate seizes, try stirring in a teaspoon of neutral oil or melted cocoa butter to restore a smoother texture. Unfortunately, seized chocolate won’t be as glossy, but it can still be used for brownies or cake batters.
- Chocolate Is Too Thick for Dipping: If your melted chocolate is too thick, add a teaspoon of coconut oil, vegetable oil, or paramount crystals (a confectionery additive) and stir well. Repeat as needed until the chocolate flows easily but isn’t runny.
- Chocolate Looks Dull or Streaky: Overheating or moisture can cause a dull, streaky, or grayish finish. Use a thermometer to keep chocolate below 120°F for dark and below 110°F for milk and white. If streaks develop, gently reheat and stir until smooth.
- Bowl Touches Water: If the bottom of your bowl touches the water, the chocolate can overheat or scorch. Always check that the bowl is above the water level, letting steam—not direct contact—melt the wafers.
- Chocolate Burns or Scorches: Burnt chocolate smells sharp and bitter and turns lumpy. If you notice chocolate sticking to the bottom and turning dark, remove from heat immediately. Discard burnt portions; don’t try to mix them in.
For troubleshooting, prevention is key: keep everything dry, use gentle heat, and stir constantly. If your project is time-sensitive or you’re working with a crowd, consider melting chocolate wafers in advance and keeping the bowl over the warm (but turned-off) double boiler to maintain a workable consistency while you dip, drizzle, or mold. With practice, you’ll master how to melt chocolate in a double boiler and enjoy flawless results for any chocolate project.