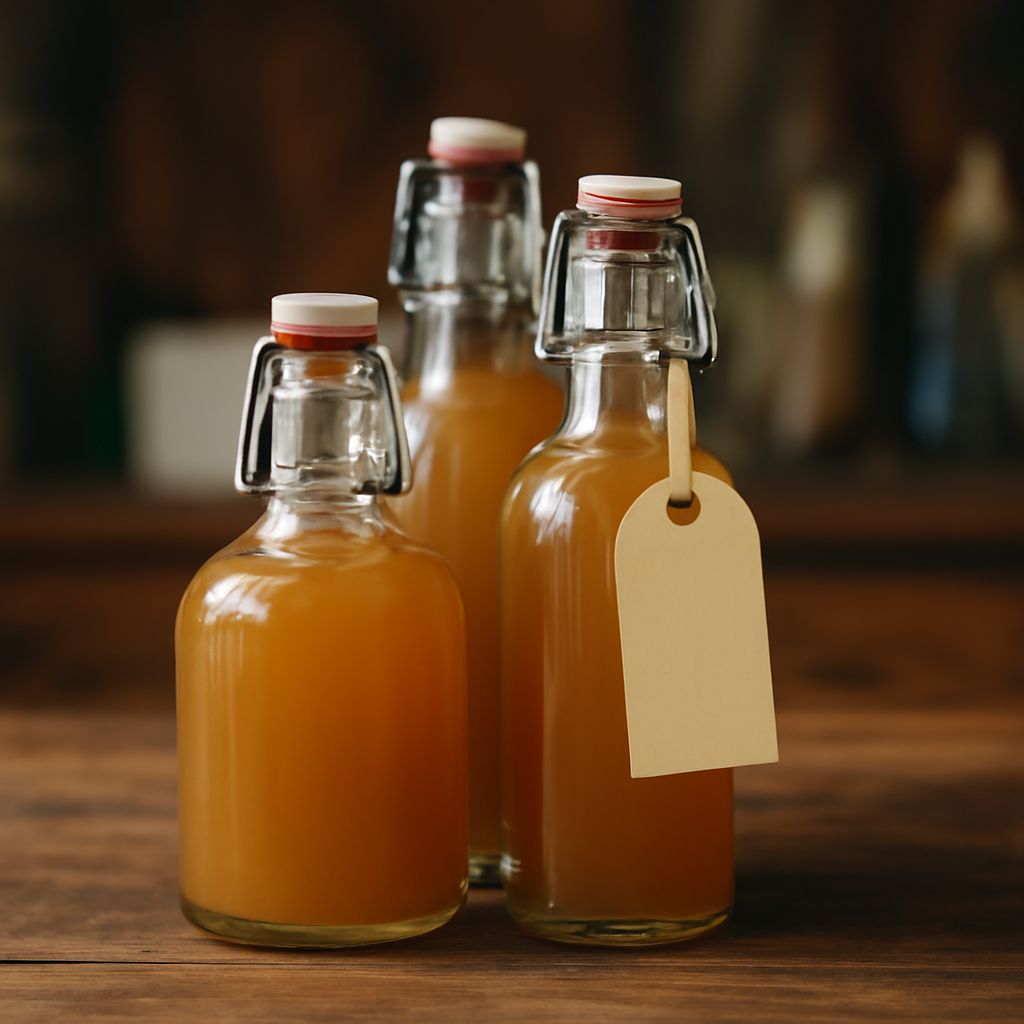
To learn how to make vinegar, start with an alcoholic liquid—not flavored water or plain juice. Yeast must first create alcohol from sugar; then acetic acid bacteria convert that alcohol into vinegar. For a reliable small batch, use wine, hard cider, or another suitable alcoholic base with an active vinegar culture, plenty of oxygen, and several weeks of steady warmth.
This guide explains how to make vinegar from scratch using the two fermentation stages, how to track aroma and acidity, and when to strain and bottle the finished vinegar.
How to Make Vinegar: Yeast and Acetic Fermentation
Vinegar forms through two separate biological processes:
- Yeast fermentation: Yeast consumes sugar and produces ethanol, or drinking alcohol, plus carbon dioxide. This is how sweet fruit juice becomes cider or wine. If you begin with plain apple juice, grape juice, or flavored water, you need this stage before vinegar making can begin.
- Acetic fermentation: Acetic acid bacteria consume ethanol in the presence of oxygen and produce acetic acid and water. Acetic acid supplies vinegar’s sharp flavor and preservative character.
The second stage is an aerobic process, so do not seal the fermenting vinegar in an airtight jar. The bacteria need a broad, exposed surface and continuous airflow. A vinegar mother—a smooth, gelatinous culture containing acetic acid bacteria—helps the conversion begin quickly and reliably, although suitable bacteria can sometimes enter from the environment.
Alcohol level, oxygen, temperature, time, and acidity control the result. A base around 8% to 10% alcohol by volume works well for a home batch. Stronger wine can slow the bacteria, while a weak base may produce thin, mild vinegar. As the alcohol disappears, the aroma changes from wine-like or cider-like to fruity, sour, and distinctly vinegary.
Choose and Prepare an Alcoholic Base
For a manageable batch, gather:
- 3 cups (710 milliliters) of wine, hard cider, beer, or another clean alcoholic liquid, ideally 8% to 12% ABV
- 1/4 to 1/2 cup (60 to 120 milliliters) of active vinegar culture or raw, unfiltered vinegar containing live culture
- Dechlorinated or distilled water, only if you need to reduce a high alcohol level
- A clean 1-quart (1-liter) glass jar
- Cheesecloth or a clean, tightly woven cloth and a rubber band
Wine and hard cider are the easiest bases because their sugars have already fermented. Choose a base without obvious spoilage, heavy flavorings, or excessive sweetness. A dry red or white wine will produce wine vinegar; hard cider will produce cider vinegar. Avoid using plain juice or sweetened water directly because the acetic bacteria need alcohol to convert into acetic acid.
If your wine is about 12% to 14% ABV, dilute it with a small amount of water so the finished mixture is closer to 8% to 10% ABV. Use nonchlorinated water because chlorine can inhibit the culture. Do not use a narrow bottle for the active stage: the bacteria work at the liquid’s air-exposed surface, and a wide-mouth jar provides more useful contact with oxygen.
Wash the jar and utensils thoroughly, rinse away all soap, and let them dry. Pour in the alcoholic base, then add the vinegar culture. If you are using a mother, place it in the liquid with clean hands or sanitized tongs. Leave at least 2 inches (5 centimeters) of headspace so the surface remains exposed and the liquid does not touch the covering.
Make Vinegar with Air, Culture, and Time
- Cover the jar for airflow. Secure two layers of cheesecloth or another breathable cloth over the opening. The cover keeps out fruit flies and dust while allowing oxygen to enter. Never use a solid lid during active acetic fermentation.
- Set the temperature. Keep the jar in a dark or dim location at about 70°F to 85°F (21°C to 29°C). Avoid direct sunlight, cold cupboards, and areas hotter than 90°F (32°C). Stable warmth encourages the culture without cooking off delicate aromas.
- Leave the surface undisturbed. Do not stir the batch daily. The bacteria form a working layer at the surface, and frequent agitation can disrupt it. Check that the cloth remains dry enough to allow air through and that fruit flies cannot enter.
- Monitor the first signs. During the first week, the liquid may smell alcoholic, fruity, or slightly sharp. A thin, pale, translucent film may begin forming on top. This is usually the developing mother, not mold.
- Allow several weeks. Begin tasting after about 3 weeks, then check weekly. A small batch commonly takes 4 to 8 weeks, though cool conditions, high alcohol, weak culture, or low oxygen can extend the process to several months.
A healthy batch develops a clean sour aroma and gradually loses its wine or cider character. A thin, smooth, rubbery film is normal and may thicken into a mother. Fuzzy growth or clearly colored patches—especially green, blue, black, or pink mold—are not normal. If you see mold or smell rotten, putrid, or strongly solvent-like odors, discard the entire batch rather than removing the surface.
If little changes after 2 to 3 weeks, check the conditions before adding more culture. The room may be too cold, the alcohol may be too strong, or the cloth may be blocking airflow. You can add a small amount of active mother or raw, unfiltered vinegar, but do not keep topping up an undiagnosed spoiled batch.
Vinegar Making: Taste, Acidity, and Storage
To judge progress, use a clean spoon to take a small sample from below the surface. Finished vinegar should taste distinctly sour, with little or no alcoholic warmth. Its aroma should be bright and acidic rather than sweet, yeasty, rotten, or sharply chemical. Color and clarity vary by base, so taste and smell are more useful than appearance alone.
For a more objective check, use pH paper or a pH meter, but remember that pH measures strength of acidity—not the total amount of acetic acid. A titratable-acidity test gives a better estimate of vinegar strength. Homemade vinegar can vary considerably, so do not assume it has the standardized 5% acidity of commercial vinegar.
When the flavor is sour enough for you and remains stable over two or three weekly checks, finish the batch:
- Strain the vinegar through a clean fine strainer or several layers of cheesecloth. Keep the mother if you want to start another batch.
- Pour the vinegar into clean glass bottles, leaving a little headspace. Use nonreactive caps; prolonged contact with reactive metals can damage the vinegar.
- Label the bottle with the base and date. If the vinegar still seems active, keep it loosely covered for a few days before sealing so pressure does not build.
- Store it in a cool, dark place. Sediment or another harmless mother may develop over time; strain again if desired.
Use homemade vinegar for dressings, sauces, marinades, and other applications where variable acidity is acceptable. Do not rely on an untested homemade batch for shelf-stable canning or pickling, which requires vinegar with a verified acidity and a tested recipe.