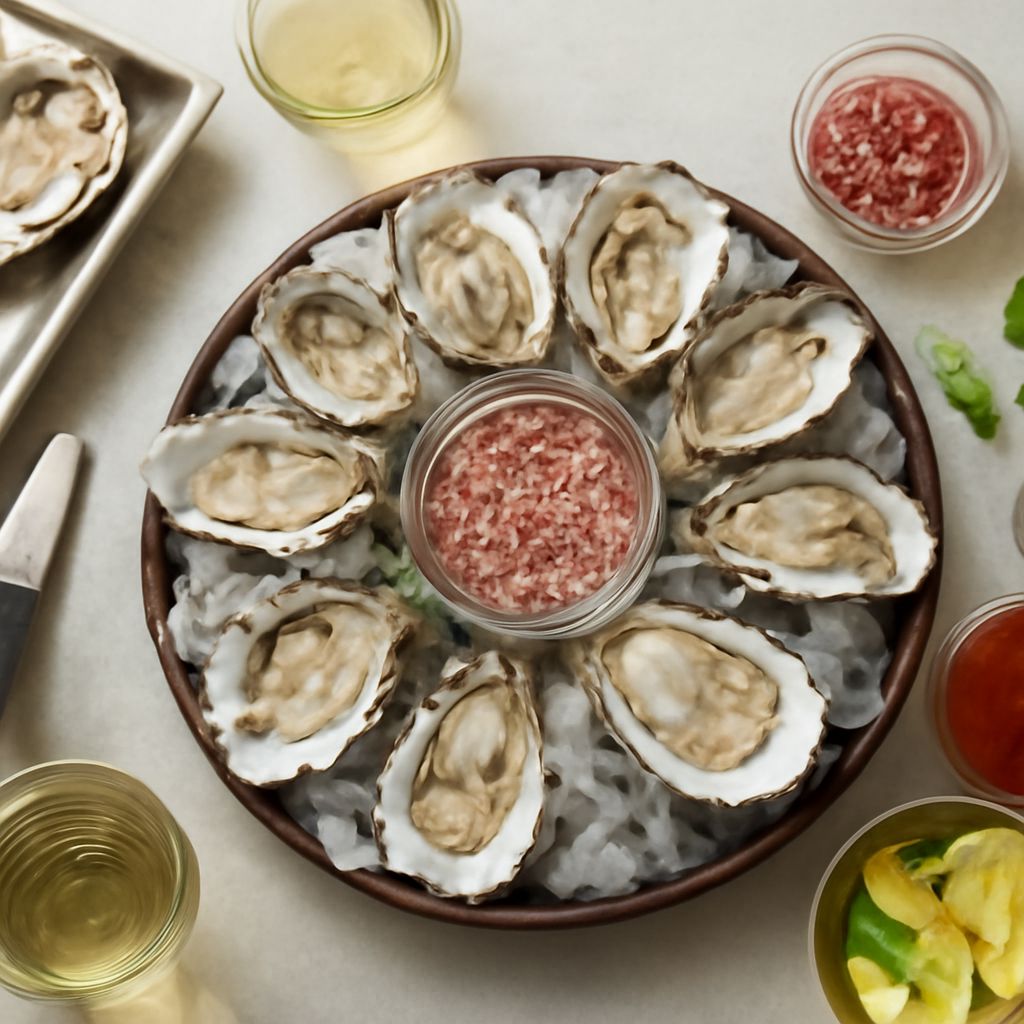
To learn how to prepare oysters on the half shell, keep them cold, scrub the shells, open them over a towel, and preserve the natural liquor inside. You will need an oyster knife, a stiff shell brush, a folded kitchen towel or cut-resistant glove, crushed ice, and a small bowl for discarded shells.
The finished oysters should sit securely in their bottom shells with the meat intact, the liquor retained, and no loose shell fragments. Work slowly rather than forcing the knife; a stable oyster and controlled hinge entry make shucking safer and cleaner.
How to Prepare Oysters: Clean and Set Up
Start with live oysters that are cold, closed, and free from deep cracks. If a shell is slightly open, tap it firmly. It should close. Discard any oyster that stays open, has a broken shell, or smells strongly sour or ammonia-like.
- Chill the oysters. Keep them refrigerated until you are ready to shuck. Set a tray with crushed ice aside, but do not let melting ice water cover the oysters. Plan to shuck shortly before serving so the meat stays cold and firm.
- Scrub the shells. Hold each oyster under cold running water and brush the outside with a stiff shell brush. Focus on the hinge and ridges, where mud and grit collect. Do not use soap, and do not soak the oysters.
- Set up your station. Place the towel on a stable counter, put the oyster knife and shell bowl within reach, and prepare the ice tray. A cut-resistant glove on the hand holding the oyster adds protection, but a thick, folded towel also helps.
- Orient each oyster. The flatter shell is the top, and the deeper, cupped shell is the bottom. Keep the cupped side down so the oyster’s liquor remains inside as you work.
Keep the hinge pointed toward you and the rounded edge facing away. If the oyster slides on the counter, create a firm nest with the towel before inserting the knife.
How to Prepare Raw Oysters: Shuck Without Losing the Liquor
Shuck one oyster at a time. Hold it firmly through the towel with the cupped shell against the counter. Keep the shell as level as possible throughout the process; tilting it is the easiest way to spill the liquor.
- Enter the hinge. Find the small point where the two shells meet. Insert the tip of the oyster knife into the hinge, aiming into the joint rather than down toward your holding hand. Use gentle pressure and a controlled twist to open the hinge. Do not stab, force, or lever the knife toward your palm.
- Open the top shell. Once the hinge releases, slide the knife along the inside of the flat top shell. Cut through the adductor muscle holding the shells together. Lift the top shell away without tipping the bottom shell.
- Release the oyster. Check the top shell for meat, then slide the knife beneath the oyster in the cupped shell. Cut through the lower adductor muscle with one smooth movement. Leave the oyster and its liquor in the bottom shell.
- Keep the liquor. Do not pour out or rinse away the liquid after shucking. It is part of the oyster’s flavor and helps keep the meat moist. If a small piece of shell falls in, remove it carefully with the knife tip or a clean fingertip while keeping the shell level.
A properly opened oyster remains plump and attached loosely or not at all to the bottom shell. If the knife meets heavy resistance, reposition it instead of applying more force. Excess pressure can crush the shell and send fragments into the meat.
Preparing Oysters: Inspect and Serve on the Half Shell
Before serving, inspect every oyster individually. The meat should look plump and moist, and the liquor should remain in the cup of the shell. A clean, briny scent is expected; discard an oyster with an unpleasant, sour, or chemical odor.
- Check for shell fragments. Run the knife tip around the shell edge and look across the meat. Remove visible chips without disturbing the oyster more than necessary.
- Check the appearance. Discard oysters that look unusually dry, damaged, or discolored compared with the rest of the batch.
- Set the shell securely. Place each oyster cupped side down in crushed ice. Press the shell into the ice so it cannot tip and spill the liquor.
- Add condiments sparingly. Offer lemon wedges, mignonette, or hot sauce on the side. A few drops are enough; heavy toppings can cover the oyster’s texture and flavor.
Serve the oysters as soon as possible after shucking. Keep them cold on ice while you finish the tray, and do not allow meltwater to collect inside the shells. If you are serving raw oysters to guests, keep cooked foods and utensils separate from the raw shellfish.
Raw oysters are not suitable for everyone. People who are pregnant, immunocompromised, older, or living with liver disease should choose fully cooked oysters instead.
How to Eat Oysters on the Half Shell
- Inspect the oyster again. Look for shell chips and confirm that the liquor is still pooled in the bottom shell.
- Loosen the meat. Use an oyster fork, the tip of a small seafood fork, or the edge of a clean knife to separate the oyster from the bottom shell. This lets you eat it cleanly instead of pulling against the shell.
- Taste it plain first. Hold the shell level and take a small sip of the liquor if you like. This gives you the oyster’s natural briny flavor before adding a condiment.
- Dress lightly. Add a few drops of lemon, a small spoonful of mignonette, or a little hot sauce. Avoid stirring vigorously, which can break the meat apart and spill the liquor.
- Eat from the wide edge. Hold the shell by its sides, bring the wide end to your lips, and tip the oyster and remaining liquor into your mouth. Keep the shell close to level until the meat slides free.
- Chew briefly. Chew once or twice to experience the texture and flavor, then swallow. Do not feel obligated to swallow the oyster whole.